- Print
- DarkLight
- PDF
Preferences
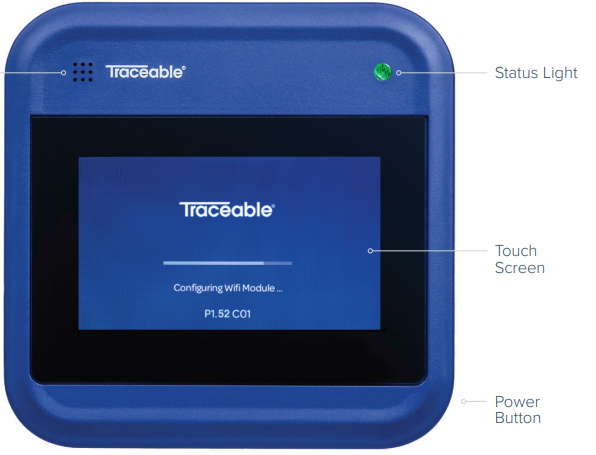
The Preferences option consists of menus that allow users to set up the device according to their preferences, including options for Display, Alerts & Notifications, Device Setup, and Units.
When saving any device configuration, the changes will only be saved on the device. To sync these changes with the cloud, tap on the Home icon displayed at the top middle of the screen. Ensure that the device is connected to both Wi-Fi and Power to view all the updated settings on your Traceable LIVE® account.
To access the Preferences option navigate to the settings menu by tap on the Settings Icon from the home screen.
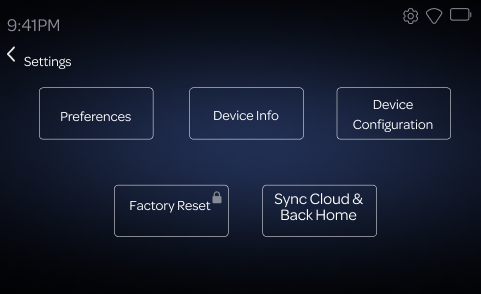
Select Preferences to view further options
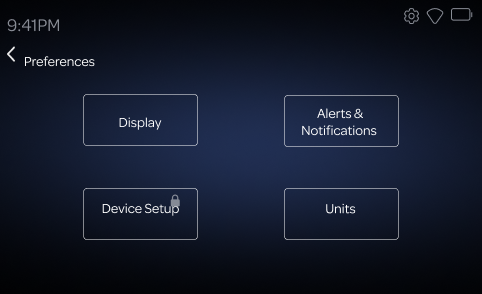
Display
In the Display Settings screen, users can customize their device display
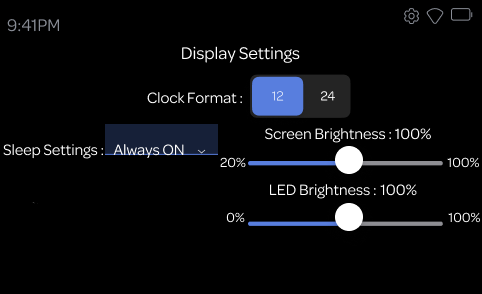
- Clock Format: Choose between a 12-hour or 24-hour clock format. The time on the top left corner of the device will be displayed according to the selected format.
- Sleep Settings: Select when the display should turn off, such as keeping the screen always on. The other options are 15 seconds, 30 seconds, 1 minute, 2 minutes, 5 minutes, and 10 minutes.
- Screen Brightness: Adjust the screen brightness from 20% to 100%.
- LED Brightness: Control the Status Light brightness from 0% to 100%.
Alerts & Notifications
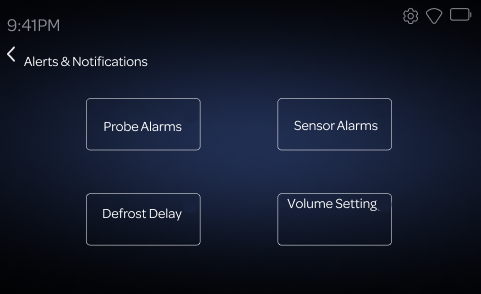
In the Alerts & Notifications screen, users can customize Probe Alarms, Sensor Alarm, Defrost Delay & Volume Setting.
Probe Alarms
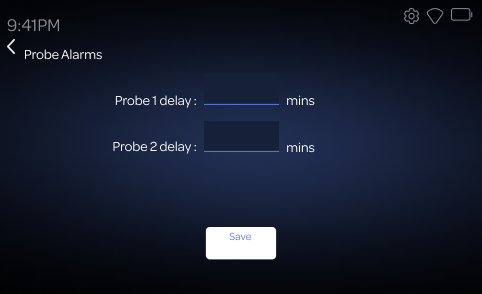
In Probe Alarms, users can set a delay for the alarm alert for Probe 1 and Probe 2.
The delay can be set between 0 to 60 minutes.
Sensor Alarms
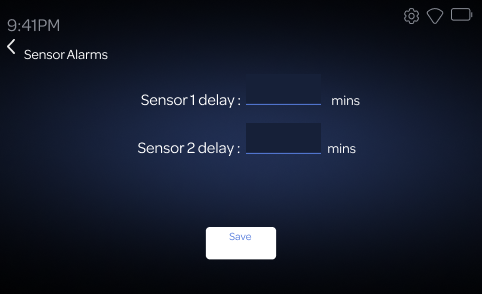
In Sensor Alarms, users can set a delay for the alarm alert for Sensor 1 and Sensor 2.
The delay can be set between 1 minute to 60 minutes.
Defrost Delay
The Defrost Delay option allows the user to suppress the alarm during routine maintenance of the refrigerator. The user can enter a desired delay time and select START to initiate the delay. A countdown will then display on the device, and the alarm will remain suppressed for the set duration. The user can stop the countdown at any time by selecting STOP.
The defrost delay can be set between 1 minute to 720 minutes.
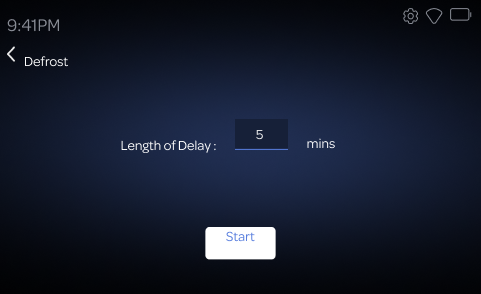
During the Defrost Delay process, the device will not log any data or report any alerts, such as if the door is open or the temperature is out of range.
Volume Setting
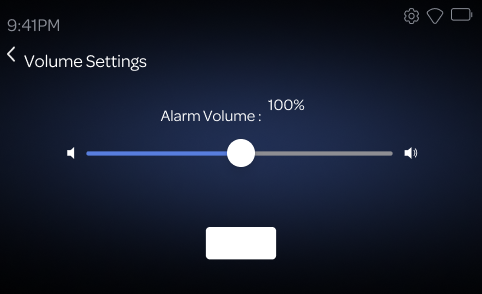
In the Volume Setting screen, users can adjust the alarm or alert volume by sliding the control from 0% (muted) to 100% (maximum volume).
Device Setup
The Device Setup allows users to personalize their device setup by configuring the basic settings and probe names
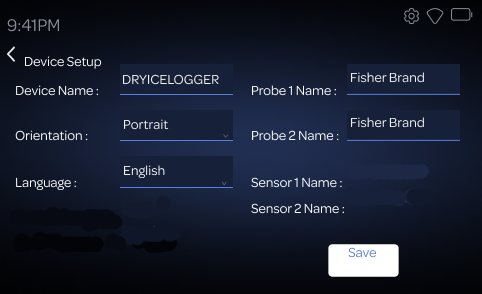
Device Name: User can enter a unique name for the device. This name will be used to identify the device within the system.
Orientation: Select the desired display orientation for the device. Options include Portrait or Landscape mode.
Language: Choose the preferred language for the device interface. Options include English, Spanish, German & French.
Probe 1 Name / Probe 2 Name: User can enter names for the attached probes.
Sensor 1 Name / Sensor 2 Name: These fields display the names of the sensors connected to the device. The names for Sensor 1 and Sensor 2 cannot be changed and will always be displayed as Sensor 1 and Sensor 2, respectively.
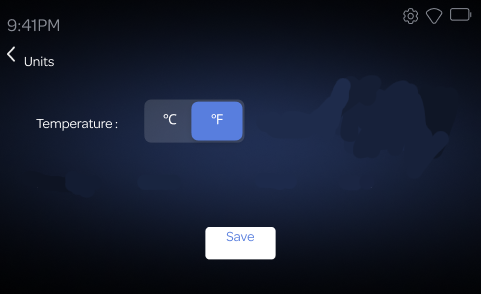
Units
The Units feature allows users to select the preferred temperature measurement unit on the device. You can choose between Celsius (°C) and Fahrenheit (°F) as per your needs.
