Adding a Device
To add a new device, tap the New Device button at the top, right-hand corner of the Device List:
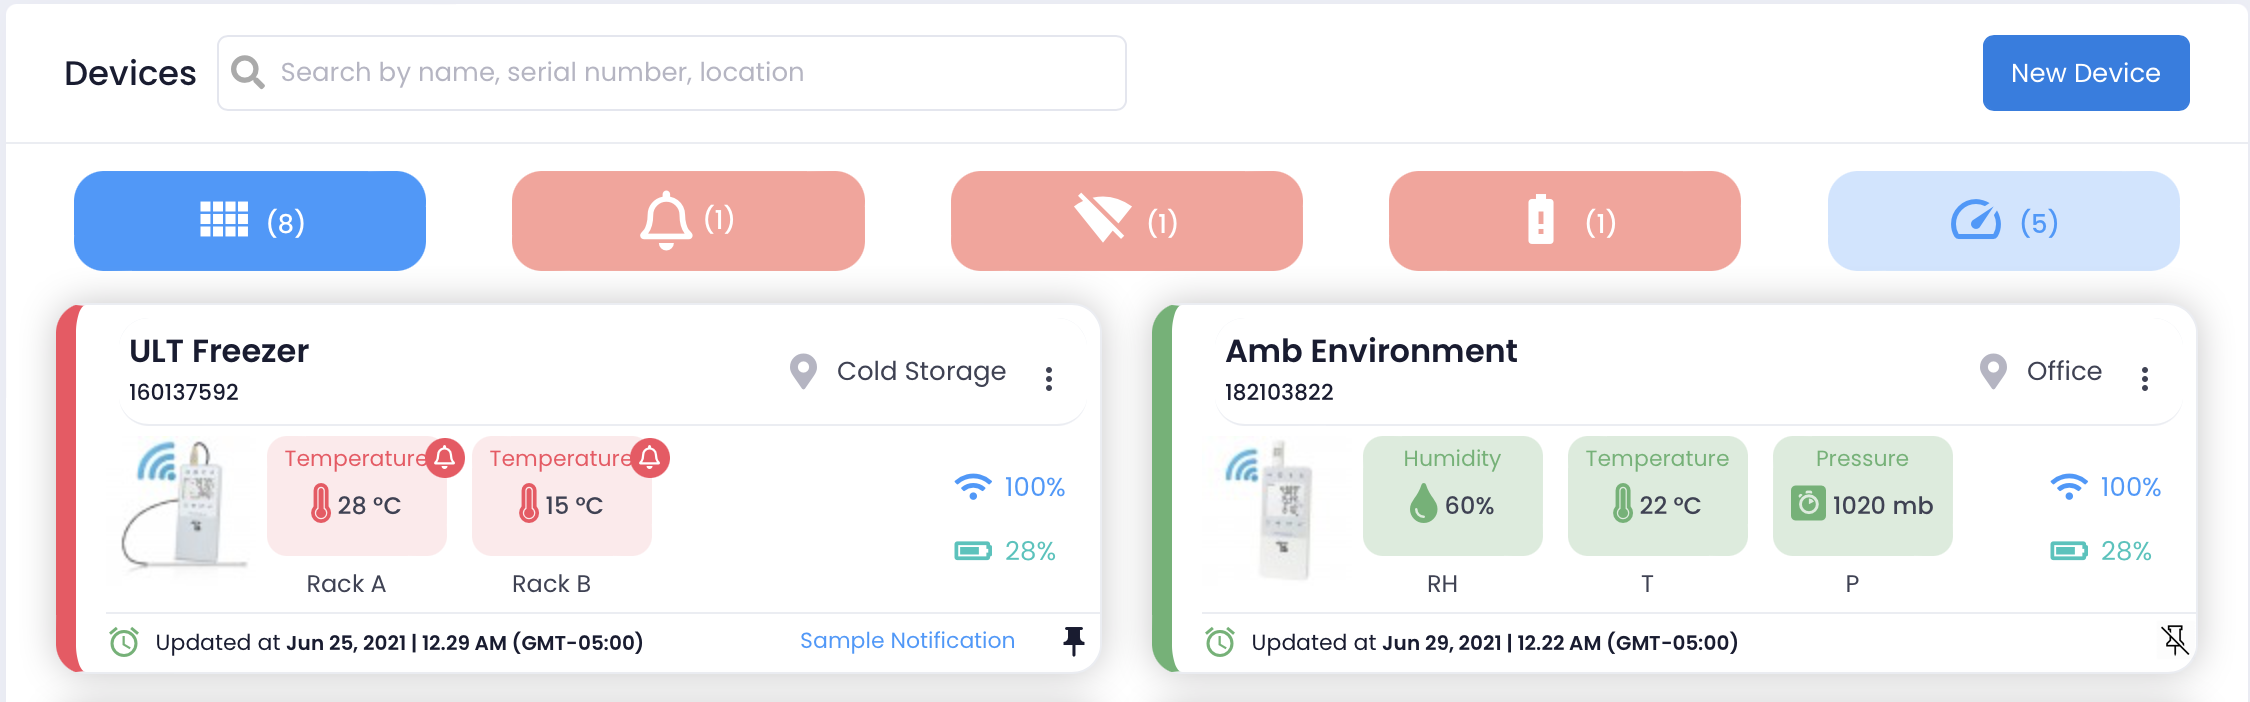
And you'll be taken to the Add A Device wizard.
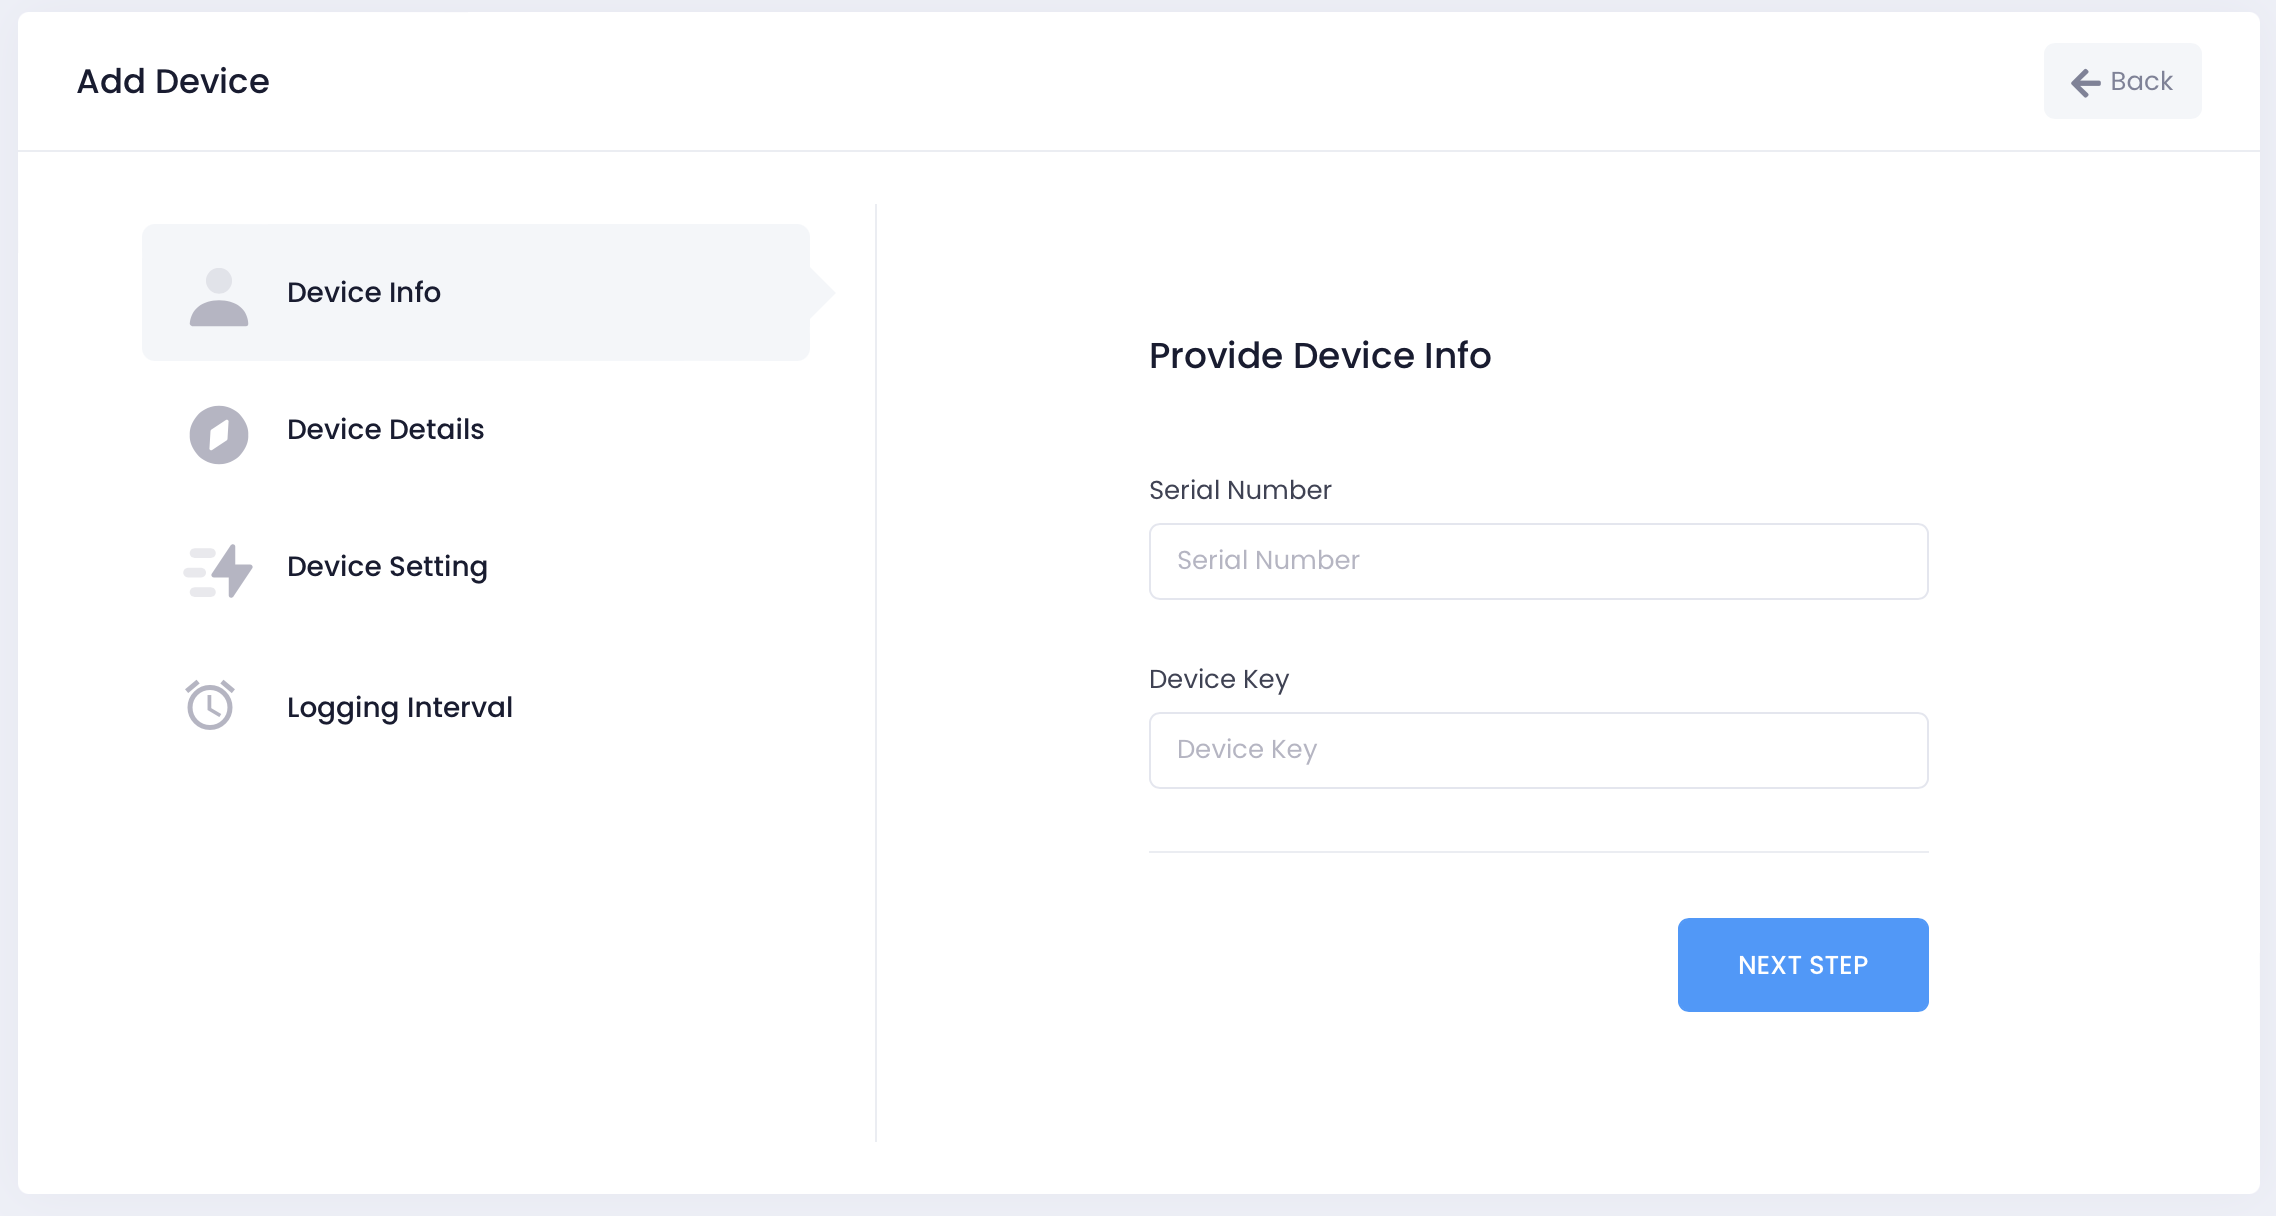
Device Validation
Quickly enter the Device Serial Number and Key and get instant, inline feedback as to the validity of the data entered. With the Serial Number and Device Key entered, tap the Next Step button to configure the new device.
Your TraceableLIVE® Datalogger device's Serial Number and Device Key can typically be found on a label on the back of the device.
Newer TraceableLIVE® Datalogger devices also include a QR-Code sticker that can be scanned by the mobile version of the TraceableLIVE® app to quickly enter the Serial Number and Device Key.
Provide Device Details
Here you will provide the required Device Name and option Description for the new device:
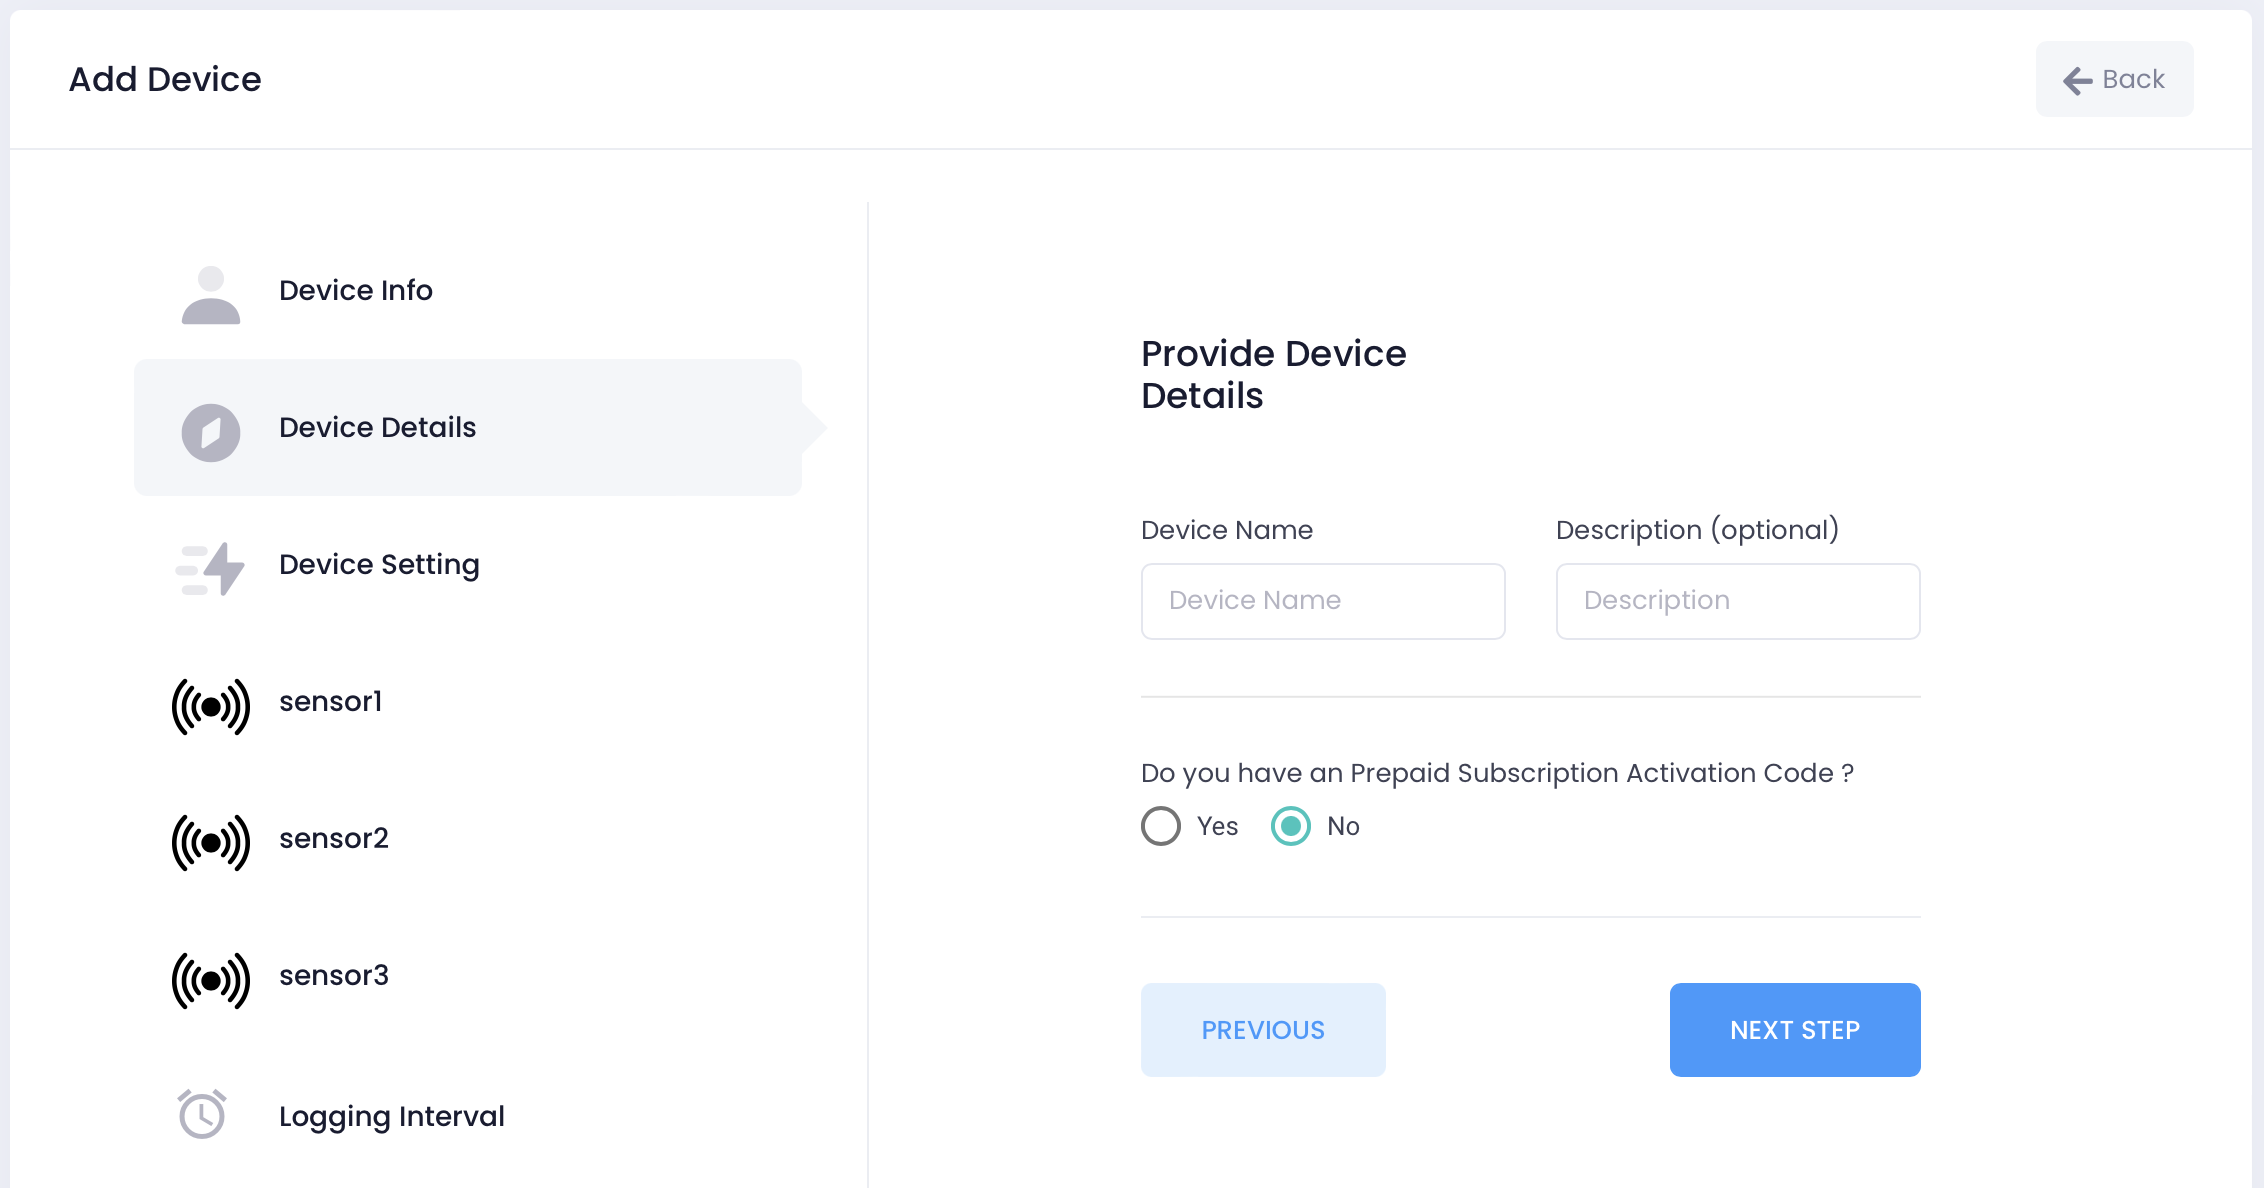
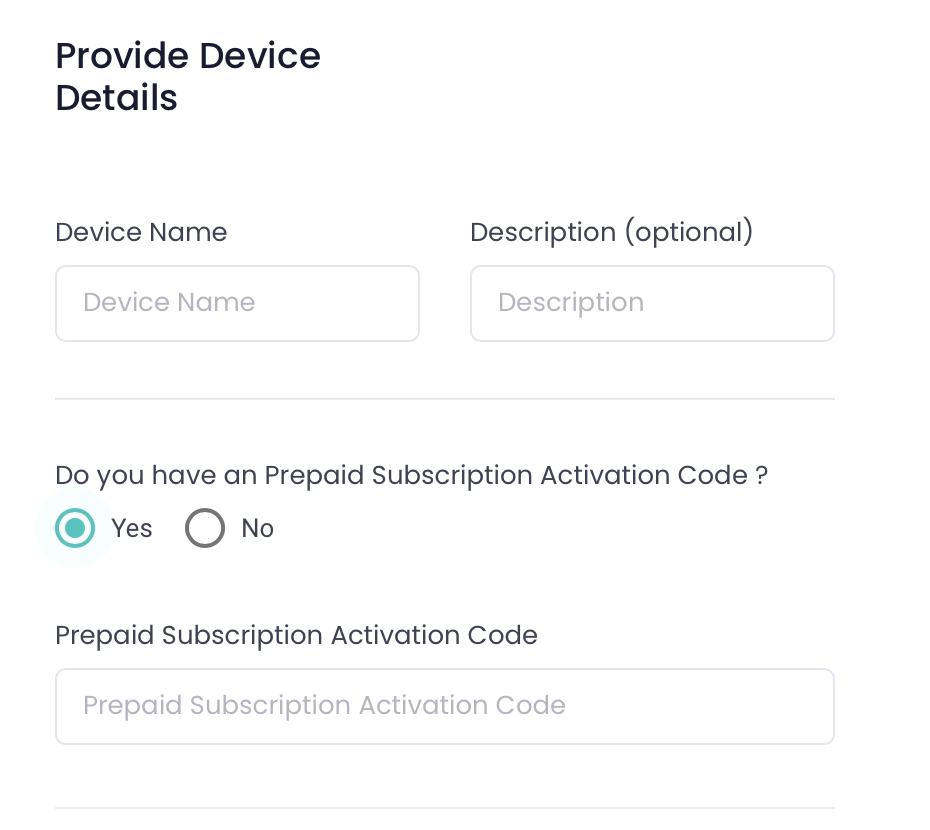
If you purchased this device with an activation code, select Yes and enter the code:
Click the Previous button to return to the previous screen or the Next Step button to enter additional device settings.
Additional Device Settings
Here you will configure the new device before adding it to your TraceableLIVE® Account:
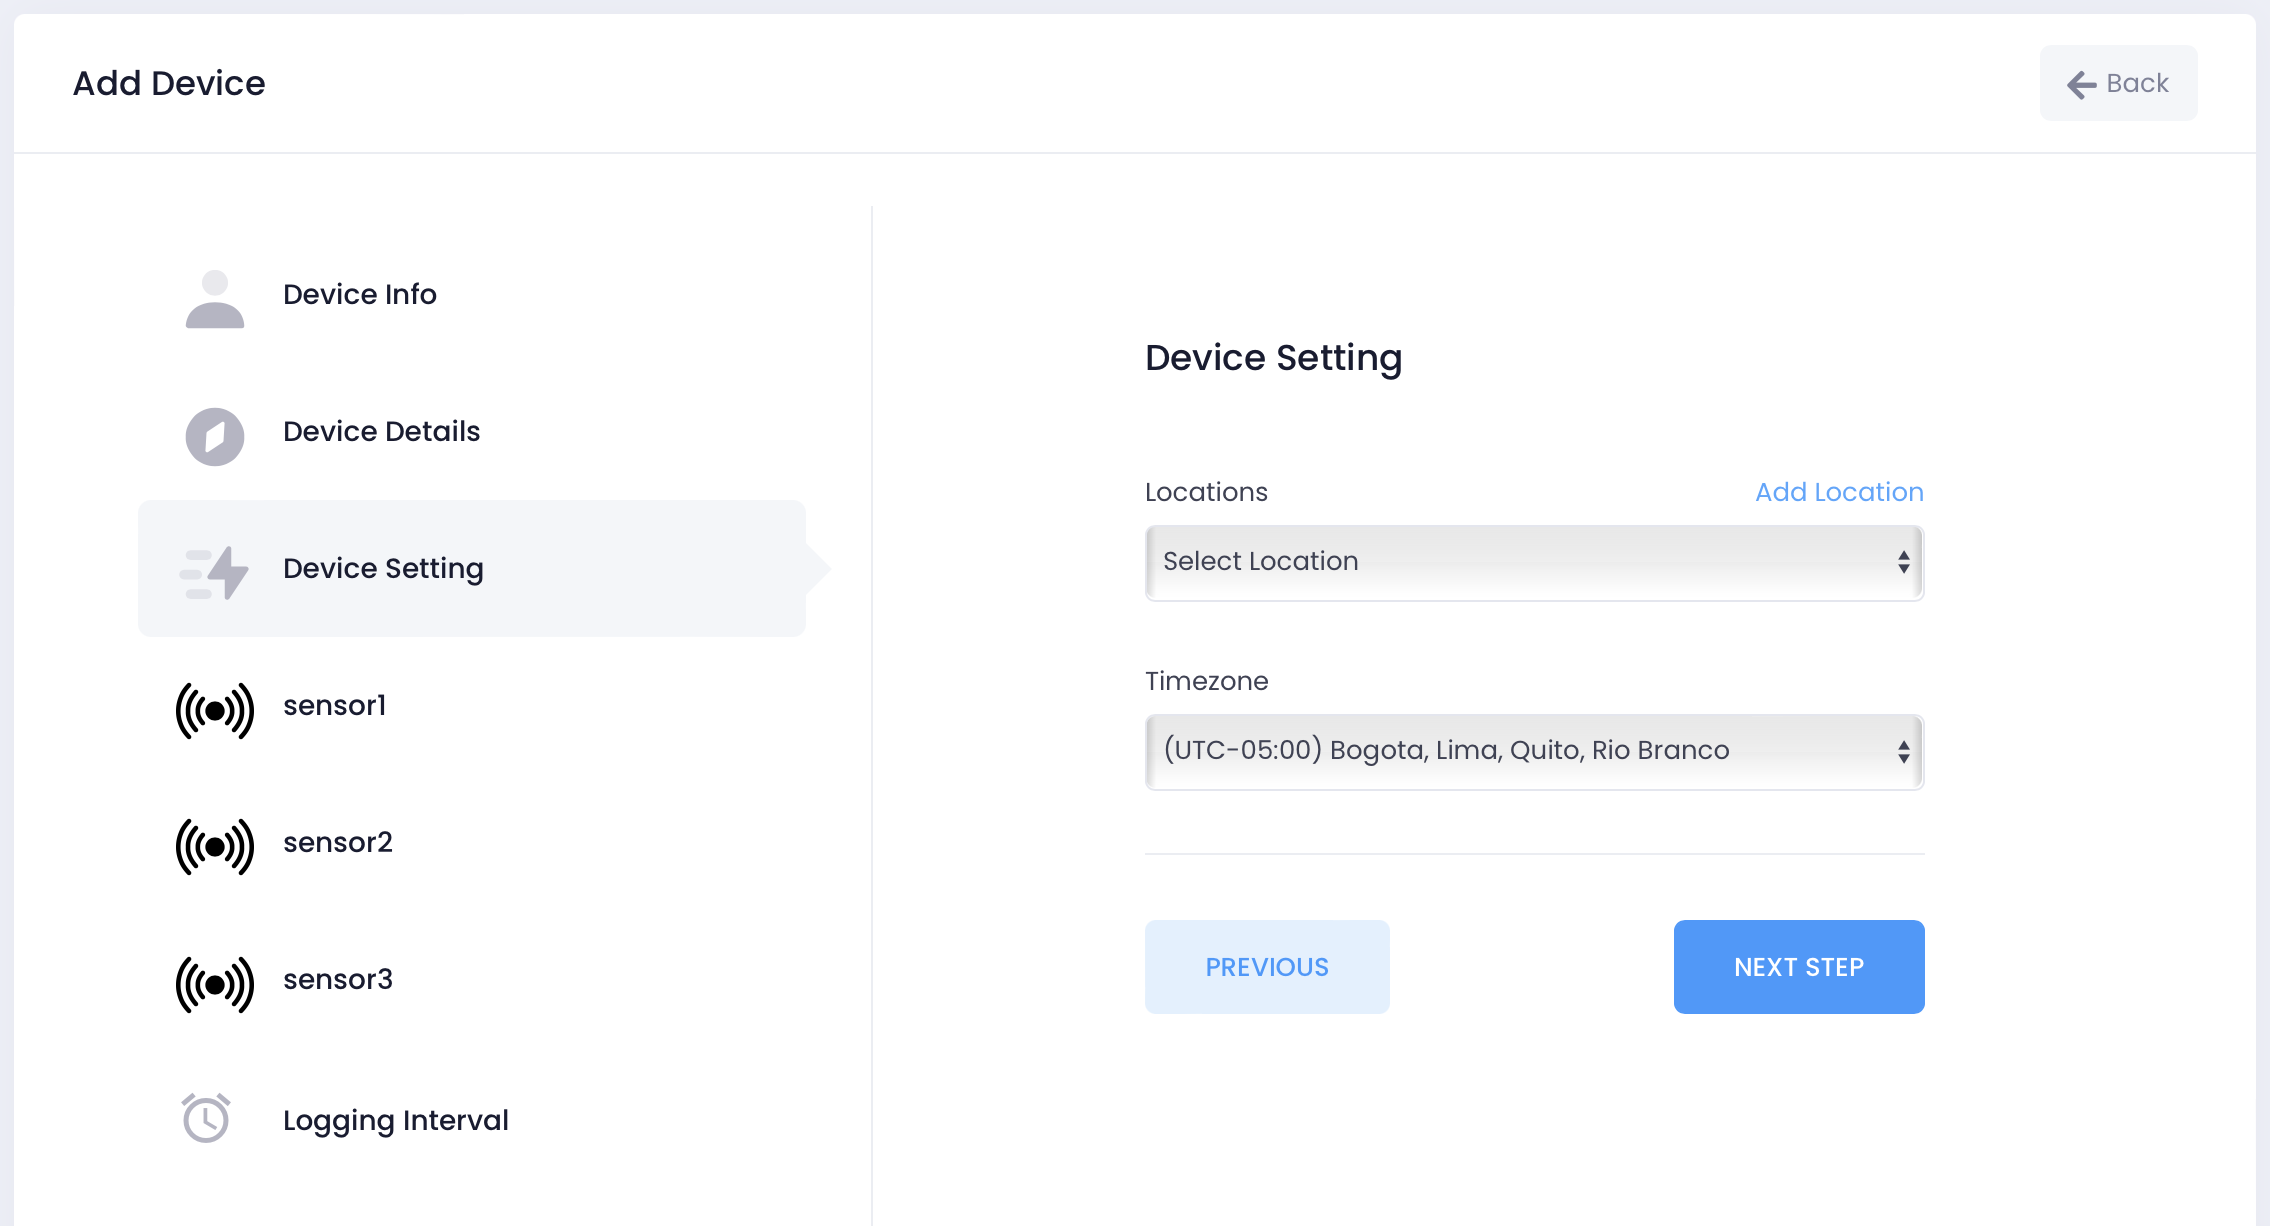
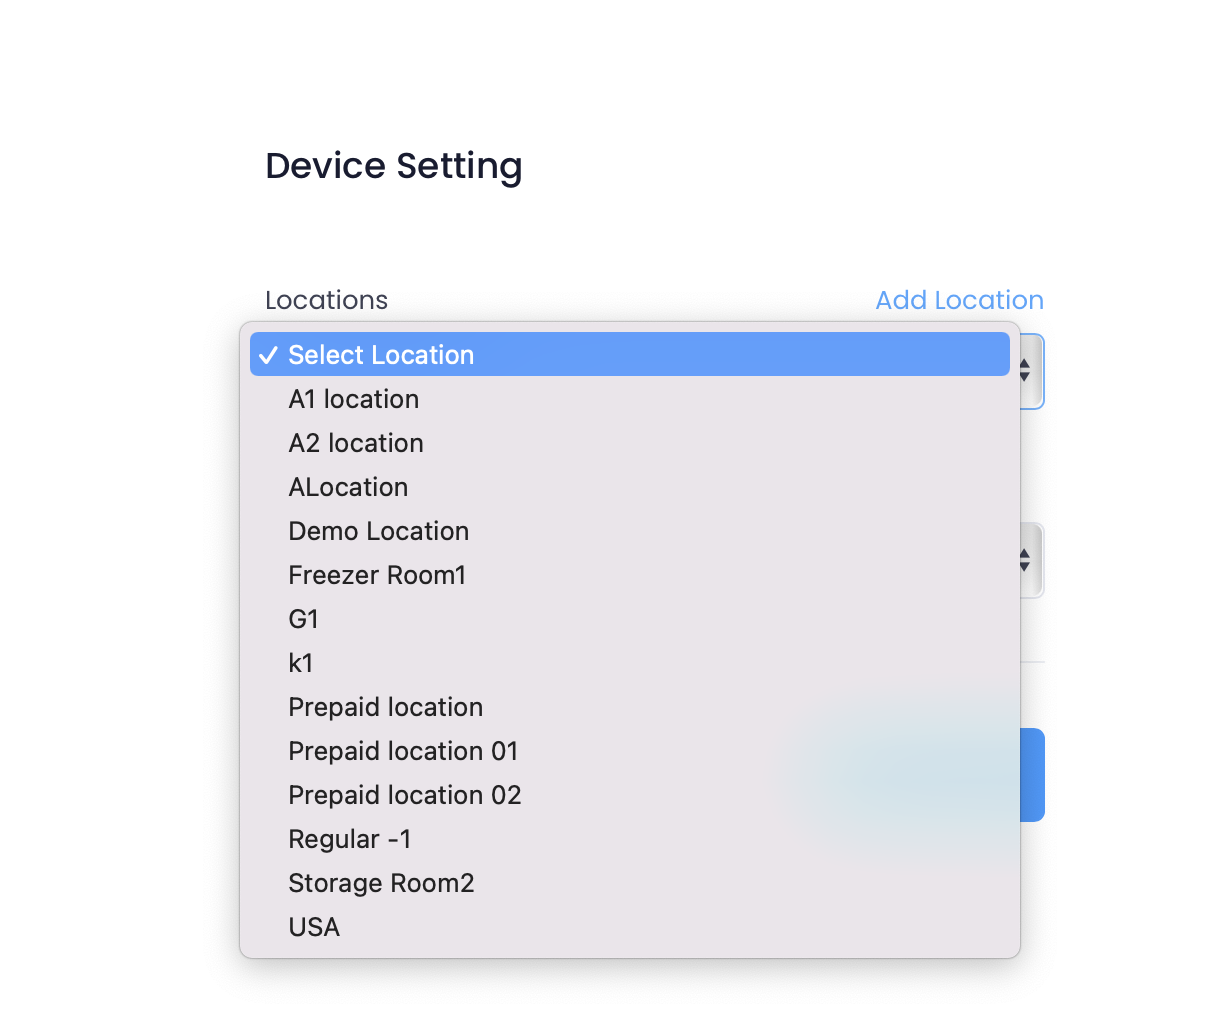
Use the Location turndown to assign the device to a location:
Use the Timezone turndown to set the required timezone that the device is physically located in:
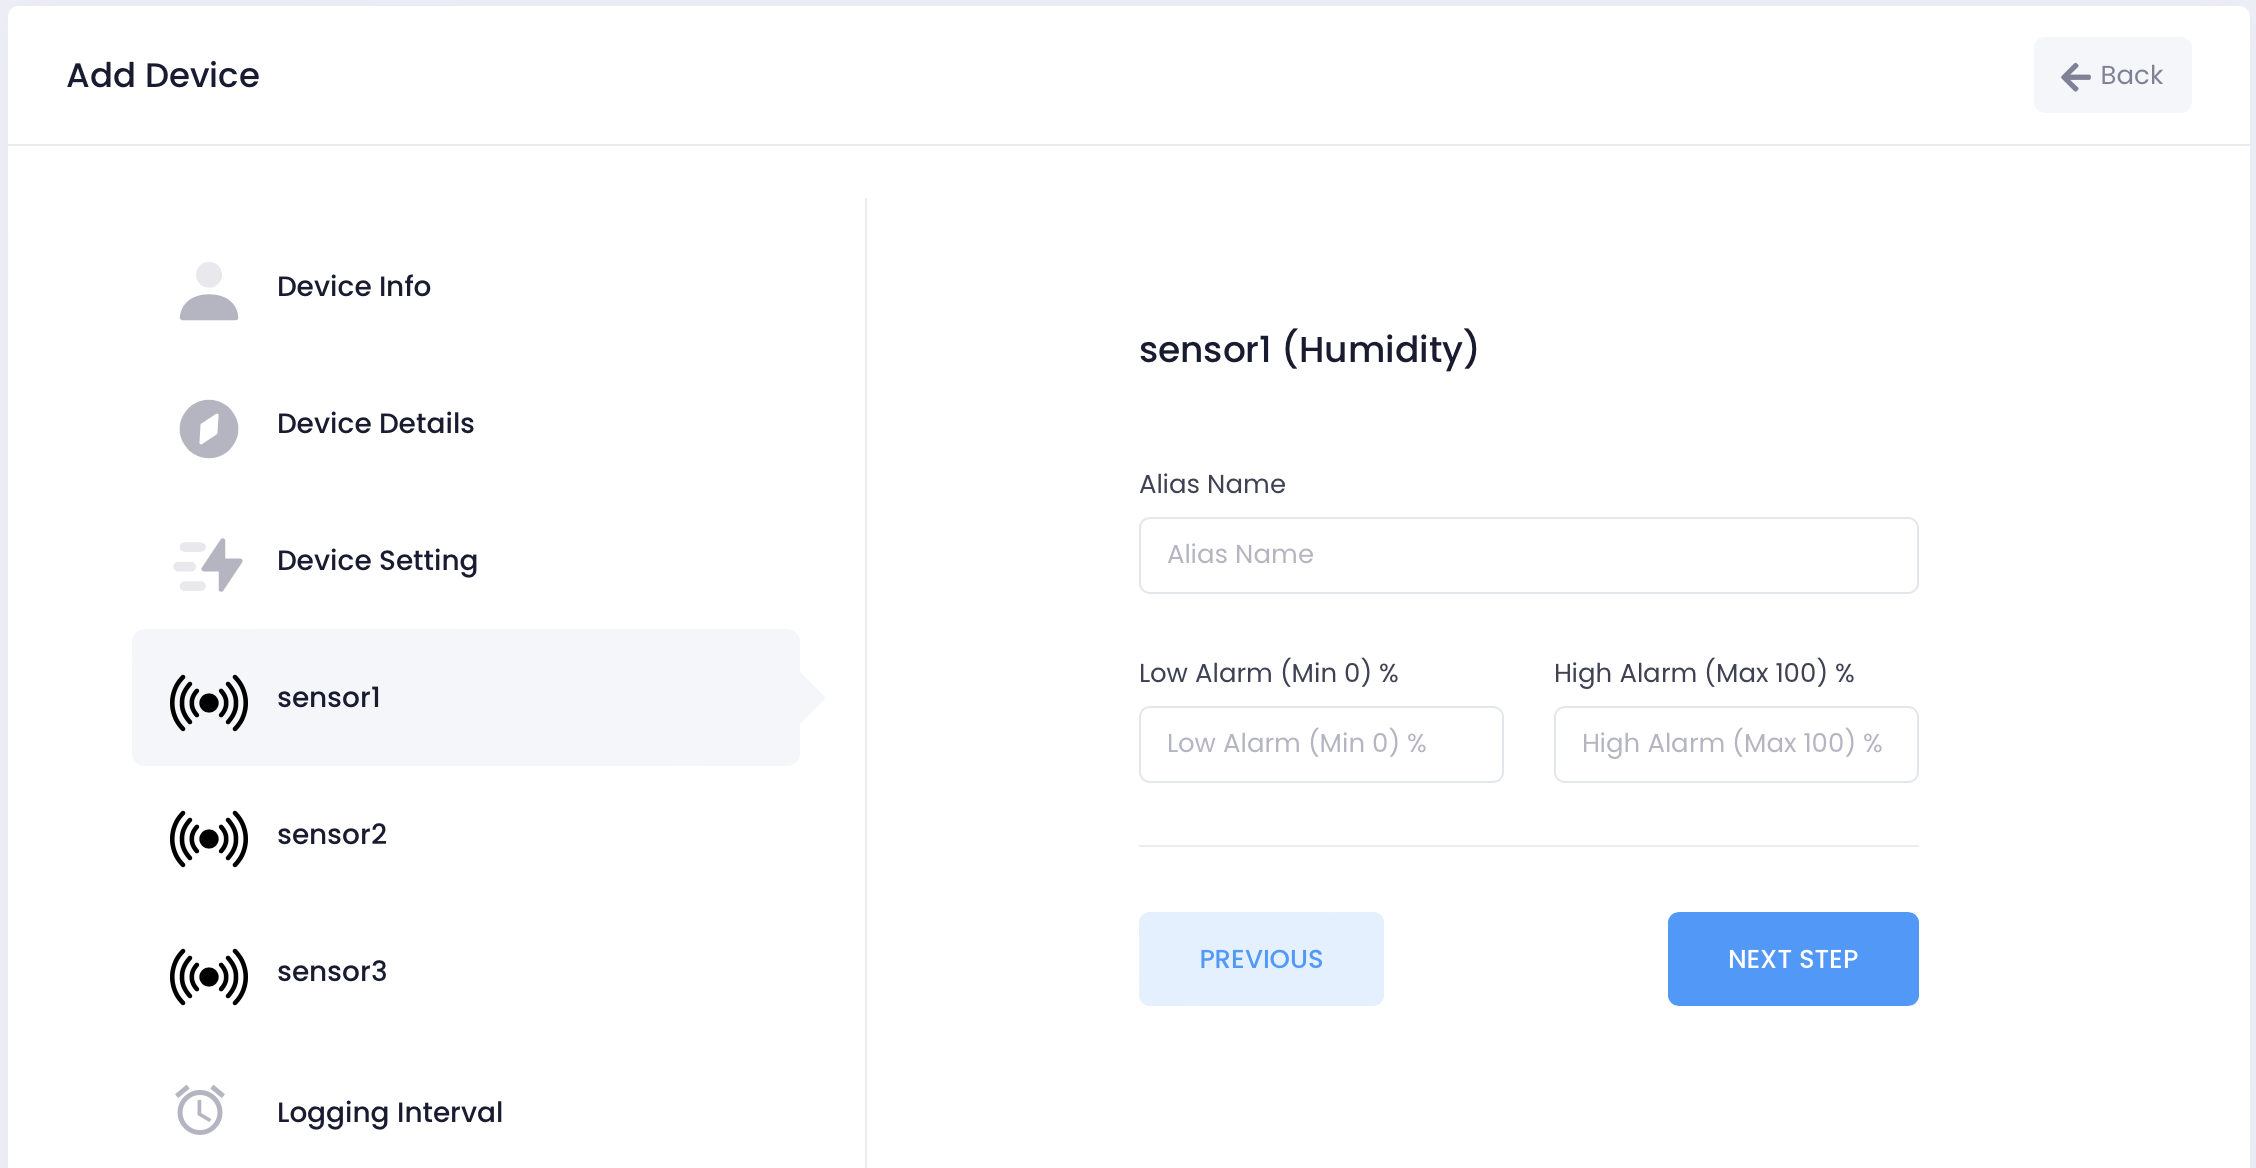
For each Channel that the device provides, do the following:
- Select the desired Unit of Measure (such as Celsius for Temperature).
- Enter an optional Alias for the Channel. This provides a human readable name for the user.
- Enter the required Low Alarm value. If the device reading drops below this level a notification will be generated.
- Enter the required High Alarm value. If the device reading goes above this level a notification will be generated.
Select the Logging Interval. This is the frequency that the device will report readings to Device Cloud.
.png)
Lower reading intervals can affect battery life on battery operated TraceableLIVE® Datalogger devices.
Adding a New User During Device Setup
If the required user is not already listed in your TraceableLIVE® account, you can create a new user directly from the Logging Interval screen.
.png)
To add a new user, on the Logging Interval screen, click the Add User button.
.png)
From here you can:
- Set the user's preferred Two-Factor Authentication (Optional).
- Set the user's role as either a Standard user or Administrator.
- Enter the required First and Last Name.
- Enter the required Email Address.
- Select the Country Code:
- Enter the user's Phone Number.
- Set the Temperature Unit of Measure. Any temperature reading in TraceableLIVE® will be displayed in this unit.
- Set the Pressure Unit of Measure. Any pressure reading in TraceableLIVE® will be displayed in this unit.
- Enter the required Password. Both the Password and Password Conformation fields must match exactly.
Click the Cancel button to abort the user addition. Click the Save button to create the new user account.
Selecting Device Users
Here you will choose which users should receive notifications for this device before completing the setup.
.png)
Use the Select Device Users button to open the list of users added to your TraceableLIVE® Account.
.png)
Use the checkbox beside each user’s name to select who should receive device notifications. Each user is displayed with their name, email address, and role (Admin or User).
.png)
You must select at least one device user before you can continue.
Available Channels
- Email – Always enabled by default and cannot be disabled.
- Push – Sends notifications to the user’s mobile app.
- SMS – Sends alerts as text messages (Only for Premium Subscription).
Repeat this process for all users who should receive alerts from the device. Click Done to save the selected users and return to the Logging Interval screen.
Back on the Logging Interval screen, you will see an updated summary (for example, “3 users selected”) confirming how many users will receive notifications.
With all of the information entered, tap the Submit button and the new device will be added to your TraceableLIVE® account. You will be returned to the Devices screen.
Additionally, you can use the Back button to return to the previous screen. If the new device cannot be added, you will be informed of the issue.